


There is always an obsession with one hoodie, and you never want to let go of it. You have worn it to late-night study sessions, coffee runs, concerts, maybe even to hide from the world on rough mornings. But after a while, even the favorite ones start looking ordinary. It’s not that the hoodie itself is bad; it’s just that you’ve seen yourself in it a hundred times, and it doesn’t surprise you anymore.
That’s where DIY steps in. Turning a hoodie into something personal is easier than most people think, and honestly, it’s kind of fun. You don’t need fancy equipment or hours of practice, just some patience and a few creative ideas that you can take from Jacket Elite. It highlights how streetwear today isn’t only about buying what’s trendy but about shaping it into something that feels like you.
Ideas to DIY Your favourite Hoodies
If your hoodie feels stuck in “basic mode,” here are five ways to give it a makeover. Some ideas are simple, some are bold, but all of them make sure no one else’s hoodie looks like yours.
- Iron-On Patches for Instant Personality
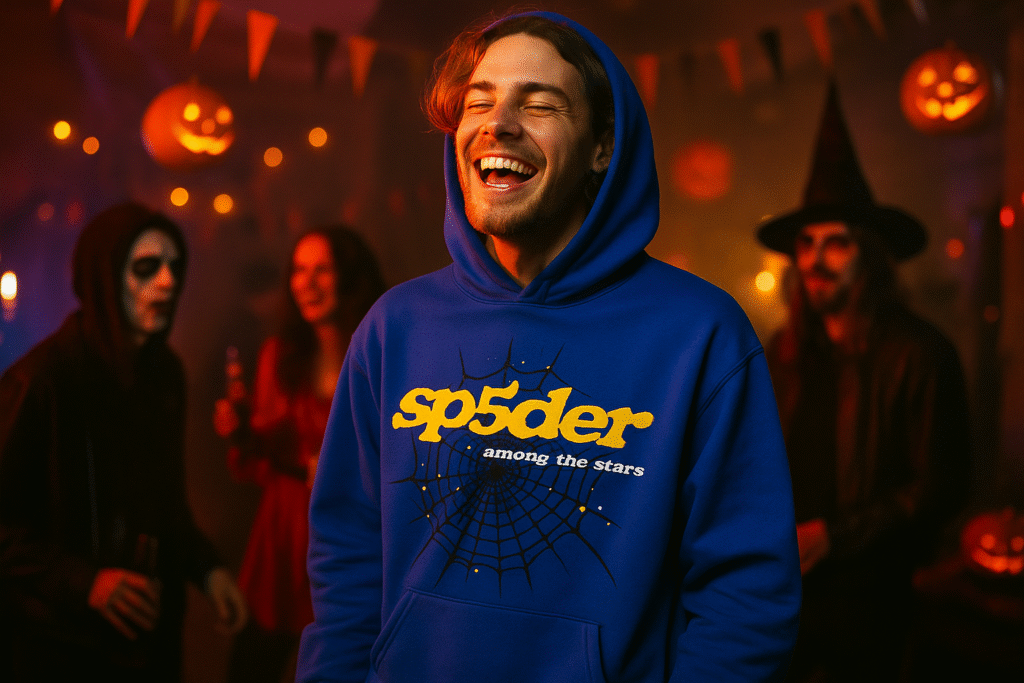
Short insight: When you look at Sp5der hoodies, you realize that patches make it a standout piece of clothing. Patches are like stickers for grown-ups. You can slap one on, and suddenly your hoodie has character. They’re cheap, easy, and come in endless designs; band logos, anime characters, cheeky slogans, even vintage badges.
Step-by-step:
- Lay your hoodie flat and pick spots that make sense: chest, sleeve, hood, or even across the pocket.
- Place the patch down, cover it with a thin fabric or any cloth, and press with a hot iron.
- Hold for 15–20 seconds and then let it cool. That’s it, you’ve got instant personality.
Pro tip: Don’t just paste patches at the center of your hoodie. Just scatter them unevenly for a more authentic streetwear vibe.
Mistake to avoid: Low-quality patches peel after one wash. Spend a little extra to save yourself the heartbreak.
Patches aren’t just decoration; they’re tiny stories stitched onto your hoodie. Every time someone asks about them, you get to share a piece of yourself.
- Tie-Dye for Bold Color Experiments
Mini insight: If you’re not afraid of shade colors, tie-dye is a wild ride. It’s unpredictable, and that’s the beauty of it. No two tie-dye hoodies ever come out the same, which means yours is guaranteed to be one-of-a-kind.
Step-by-step:
- Start with a light hoodie (white, gray, beige).
- Twist and bind the fabric with rubber bands in different sections.
- Squirt dye into the folds, pick two or three colors max.
- Wrap it in plastic, let it sit, rinse, and wash it separately at first.
Pro tip: Two bold hues and one neutral create cleaner patterns than making a full rainbow.
Mistake to avoid: Forgetting the pre-wash. If you skip it, the dye doesn’t grab properly, and the hoodie looks patchy.
Tie-dye isn’t just a ‘70s throwback anymore. Streetwear brands and even high-fashion lines have revived it. And honestly, it’s hard not to smile when you’re wearing something that looks like it was born from chaos.
- Fabric Paint & Markers to Doodle Your Story
Mini insight: Consider this as doodling, but on fabric. If you’re the type who sketches in notebooks or scribbles on napkins, why not let your hoodie be the canvas? Fabric paints and markers are surprisingly forgiving, and they stick around even after washes.
Step-by-step:
- Slip a cardboard sheet inside the hoodie to keep paint from bleeding through.
- Trace out your design lightly with chalk.
- Begin to fill it in with fabric markers or fabric paint.
- Let it dry overnight before wearing.
Pro tip: If you’re nervous about freehand drawing, stencils can be your best friend. They keep shapes sharp and neat.
Mistake to avoid: Don’t glob on too much paint, it cracks after a couple of washes and ruins the vibe.
The best part? You don’t need to be an artist. Even a small doodle or a word written across the sleeve makes it personal. Some people even highlight existing graphics, almost like remixing the original design.
- Hoodie Embroidery for a Handmade Touch
Mini insight: Embroidery feels intimidating at first, but trust me, it’s easier than you’d think. And it instantly makes a hoodie look high-end. A tiny stitched symbol, initials, or even a small flower near the cuff can transform the vibe from “casual” to “crafted.”
Step-by-step:
- Decide on a small design, don’t start with a giant logo.
- Hoop the fabric so it’s taut.
- Thread the needle and begin with simple stitches.
- Stick to small areas: sleeve cuff, pocket edge, or near the hood.
Pro tip: Use a thread that contrasts with your hoodie color. Neon on black? Chef’s kiss.
Mistake to avoid: Pulling the thread too tight, which wrinkles the fabric and looks sloppy.
What’s cool about embroidery is that it carries a sense of patience. Every stitch feels intentional, and when people notice it, they really notice it.
- Cut-and-Sew Customization for an Edgy Look
Mini insight: This is certainly not for the faint of heart, but the results can be amazing. The cut-and-sew approach refers to cropping your hoodie, swapping out your sleeves, or sewing in fabric panels taken from another piece of clothing.
Step-by-step:
- Decide the mod: crop top hoodie, sleeve swap, or patchwork insert.
- Mark carefully with chalk before cutting.
- Use sharp fabric scissors for clean edges.
- Sew the cut edges neatly or layer fabrics for contrast.
Pro tip: Always cut less than you think. You can trim shorter later, but you can’t reattach fabric once it’s gone.
Mistake to avoid: Guessing measurements. That’s how hoodies go from custom to disaster.
Conclusion
So, what do you think? That worn-out hoodie doesn’t seem so boring now? We can take an old, boring sweatshirt, and it can go from a “ho-hum” to a story of or about you, whether it has patches, paint, stitches, or is cut into a sporty style. The coolest part of DIY is that perfection isn’t the goal. It’s not about having straight stitches or flawless color blends; it’s about the fun you had making it. Every little mistake becomes part of the charm. Next time you throw it on, you’ll know: no one else has this hoodie.
And honestly, isn’t that the point of personal style? To wear something that feels like you, even if it started off looking like everyone else’s.