Grout plays a key role in keeping tiles in place and protecting them from water damage. Over time, however, grout can crack, crumble, or discolor due to daily wear, moisture, and cleaning chemicals. Damaged grout not only spoils the appearance of your tiles but can also allow water to seep in, leading to mold growth and loose tiles.
The good news is that learning how to repair grout is simple with the right tools and techniques. In this guide, we’ll explain step by step how to repair grout, share maintenance tips, and highlight why professional grouting services—such as those offered by Grout Kings UAE—are a smart choice for long-lasting results.https://www.healthandwellnessart.com/
Why Does Grout Get Damaged?
Before we jump into the repair process, it helps to understand why grout fails. Common causes include:
- Moisture: Bathrooms, kitchens, and outdoor areas are exposed to high humidity, which weakens grout over time.
- Poor installation: If grout wasn’t applied or sealed properly, it can crack and crumble faster.
- Tile movement: Floors and walls naturally shift, creating small gaps in the grout.
- Harsh chemicals: Strong cleaners can eat away at grout and reduce its lifespan.
Tools You’ll Need for Grout Repair
- Grout saw or oscillating tool
- New grout (cement-based or epoxy)
- Grout float
- Sponge and clean water
- Grout sealer
- Safety goggles and gloves
Step-by-Step Guide: How to Repair Grout
1. Inspect the Grout
Check all grout lines to see where repairs are needed. If the damage is widespread, regrouting the entire surface may be the best option.
2. Remove Damaged Grout
Use a grout saw or oscillating tool to scrape out cracked or crumbling grout. Work carefully to avoid scratching your tiles.
3. Clean the Area
After removing old grout, vacuum or wipe away dust and debris. A clean surface ensures the new grout bonds properly.
4. Mix the New Grout
Prepare the grout according to the package instructions. For high-moisture areas like bathrooms, epoxy grout is recommended since it’s waterproof and more durable.
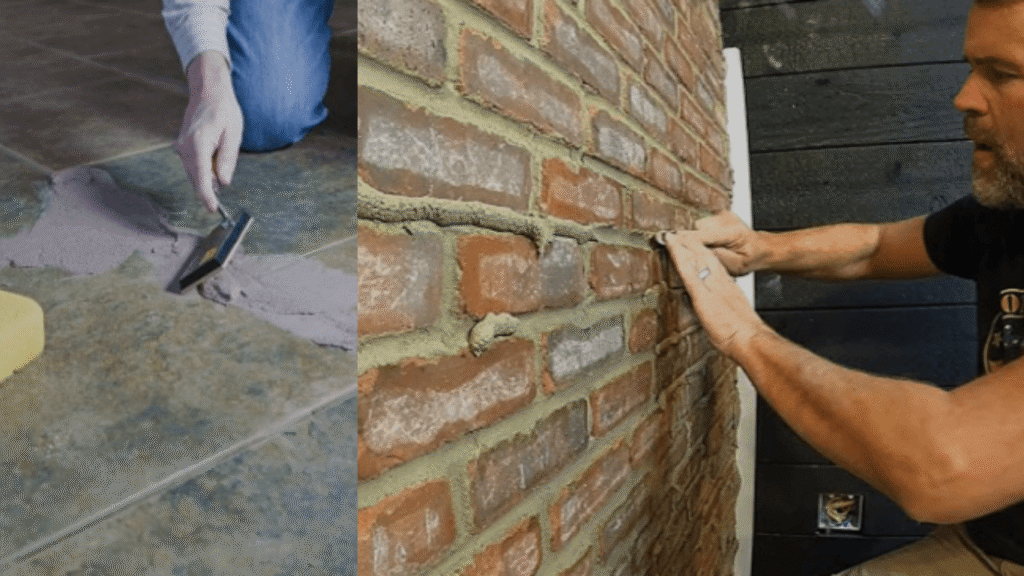
5. Apply Fresh Grout
Spread the grout over the joints with a grout float, pressing it firmly into the gaps. Work diagonally across the tiles to ensure complete coverage.
6. Wipe Off Excess Grout
After a few minutes, use a damp sponge to wipe away extra grout from the tile surface. Be careful not to pull grout out of the joints.
7. Allow the Grout to Cure
Let the grout dry for at least 24–48 hours. Keep the area dry during this time to prevent weakening.
8. Seal the Grout
Once cured, apply a grout sealer to protect against moisture, stains, and mold. This step is especially important in bathrooms and kitchens.
DIY vs. Professional Grout Repair
While repairing grout yourself can save money, it requires time and patience. Mistakes—such as leaving gaps or not sealing properly—can lead to recurring issues.
That’s why many homeowners prefer hiring professionals. In the UAE, Grout Kings is a trusted company specializing in grouting services. Their team offers expert grout repair, regrouting, sealing, and maintenance, ensuring your tiles stay protected and beautiful for years.https://groutking.ae/
Tips for Maintaining Strong Grout
- Clean regularly with mild, pH-balanced cleaners.
- Reseal grout every 1–2 years for extra protection.
- Avoid scrubbing with harsh chemicals or steel brushes.
- Repair small cracks immediately to prevent bigger problems.
Final Thoughts
Learning how to repair grout helps extend the life of your tiles and keeps your home looking fresh. Whether you take the DIY approach or call in experts like Grout Kings UAE, proper grout care prevents water damage, mold, and costly tile replacements.
A little effort today ensures your tiles stay beautiful and durable for years to come.